I generally plan and prepare the meals for my family’s Thanksgiving and Christmas celebrations, and over the years I’ve grown tired of preparing turkey-centered feasts for both holidays. You see, my wife doesn’t eat red meat, which is fine, but it puts us in the position of having to figure out the main dish for our Christmas meal. For many years we’d have turkey and all the trimmings for Thanksgiving and again for Christmas, but then I started fishing around for a different Christmas main course, a task that hasn’t been as easy as it probably sounds.
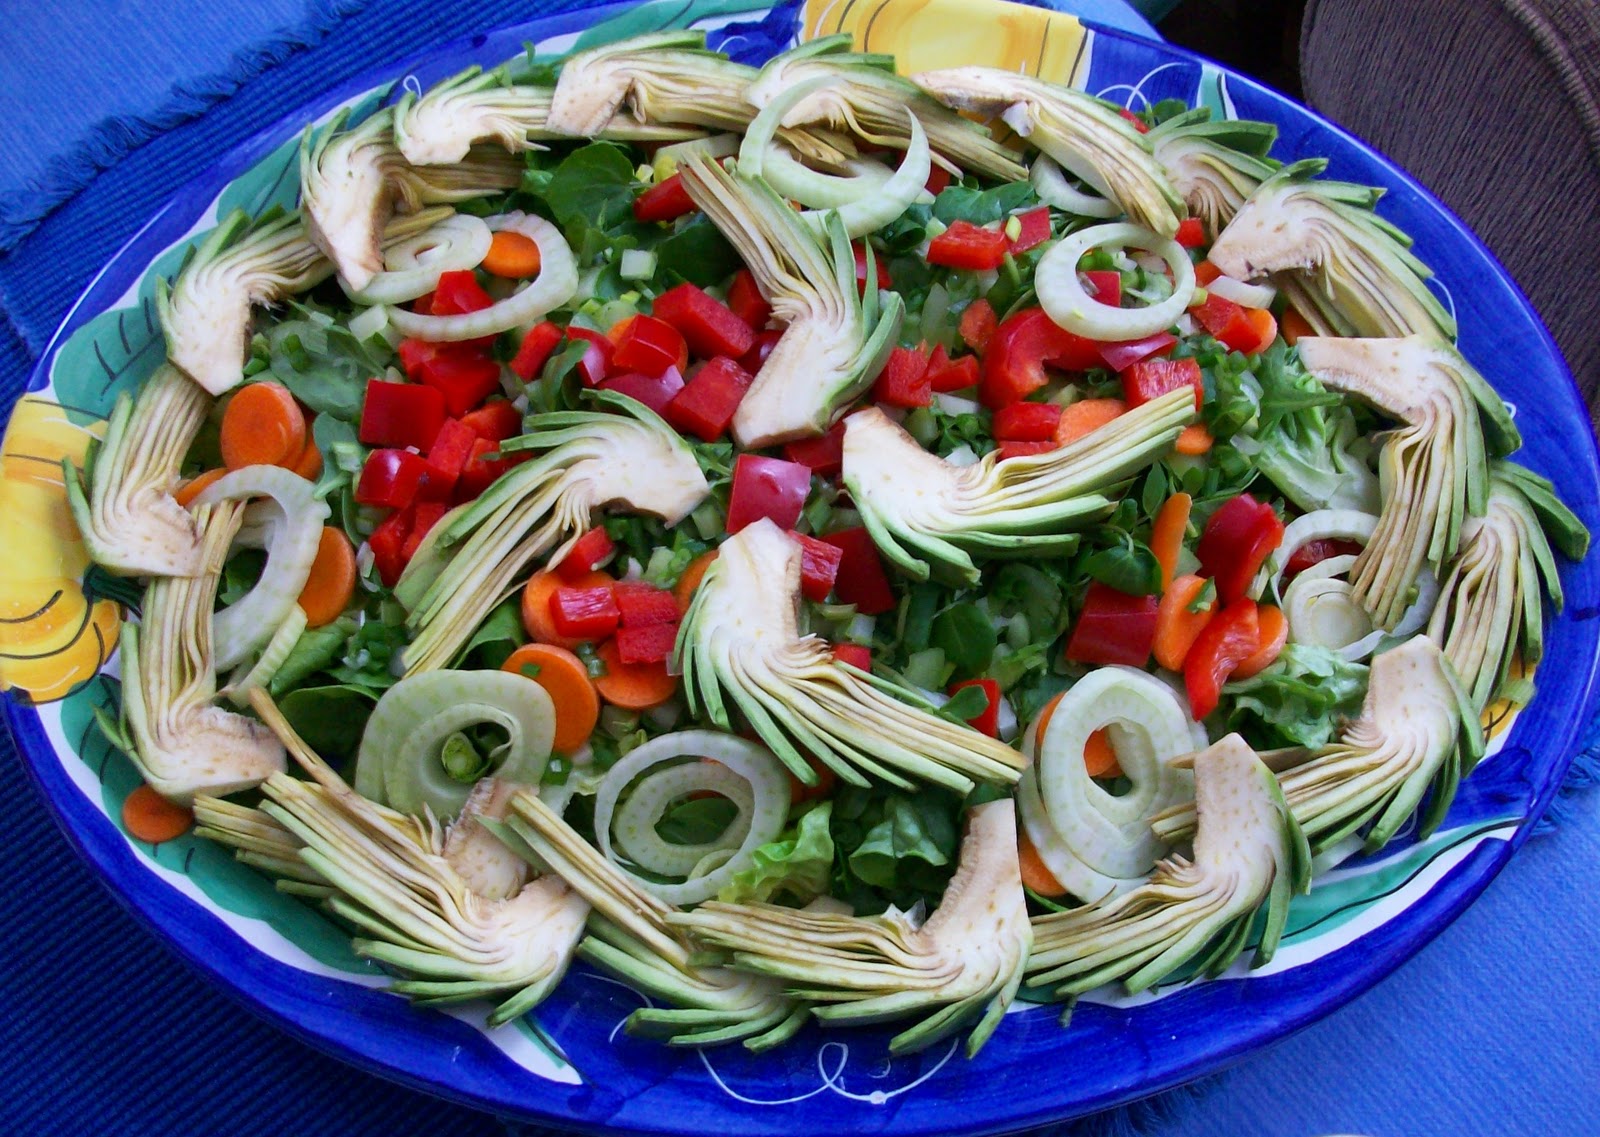 |
| La Grande Insalata Mista |
Our Christmas celebration tends to be small: besides me, there’s only my wife, my 18-year-old son, and my 78-year-old father in attendance. But pleasing the palates and dietary needs of just four people can be difficult, especially when it’s Christmas and you want everyone to be happy.
 |
| Focaccia topped with rosemary and sage |
A couple of years ago we landed on Chicken Parmigiana as our main course for Christmas, which seems to fill the bill all around. In case you’re not familiar with it, this classic Italian dish features boneless chicken breasts pounded flat, breaded, and pan-fried in olive oil. These are placed in a baking dish and topped with Italian tomato sauce, mozzarella, and parmesan cheeses, then baked for a half-hour. This year I upped the people-pleasing quotient by adding turkey meatballs to the tomato sauce, giving us two types of poultry in the same dish(!).
 |
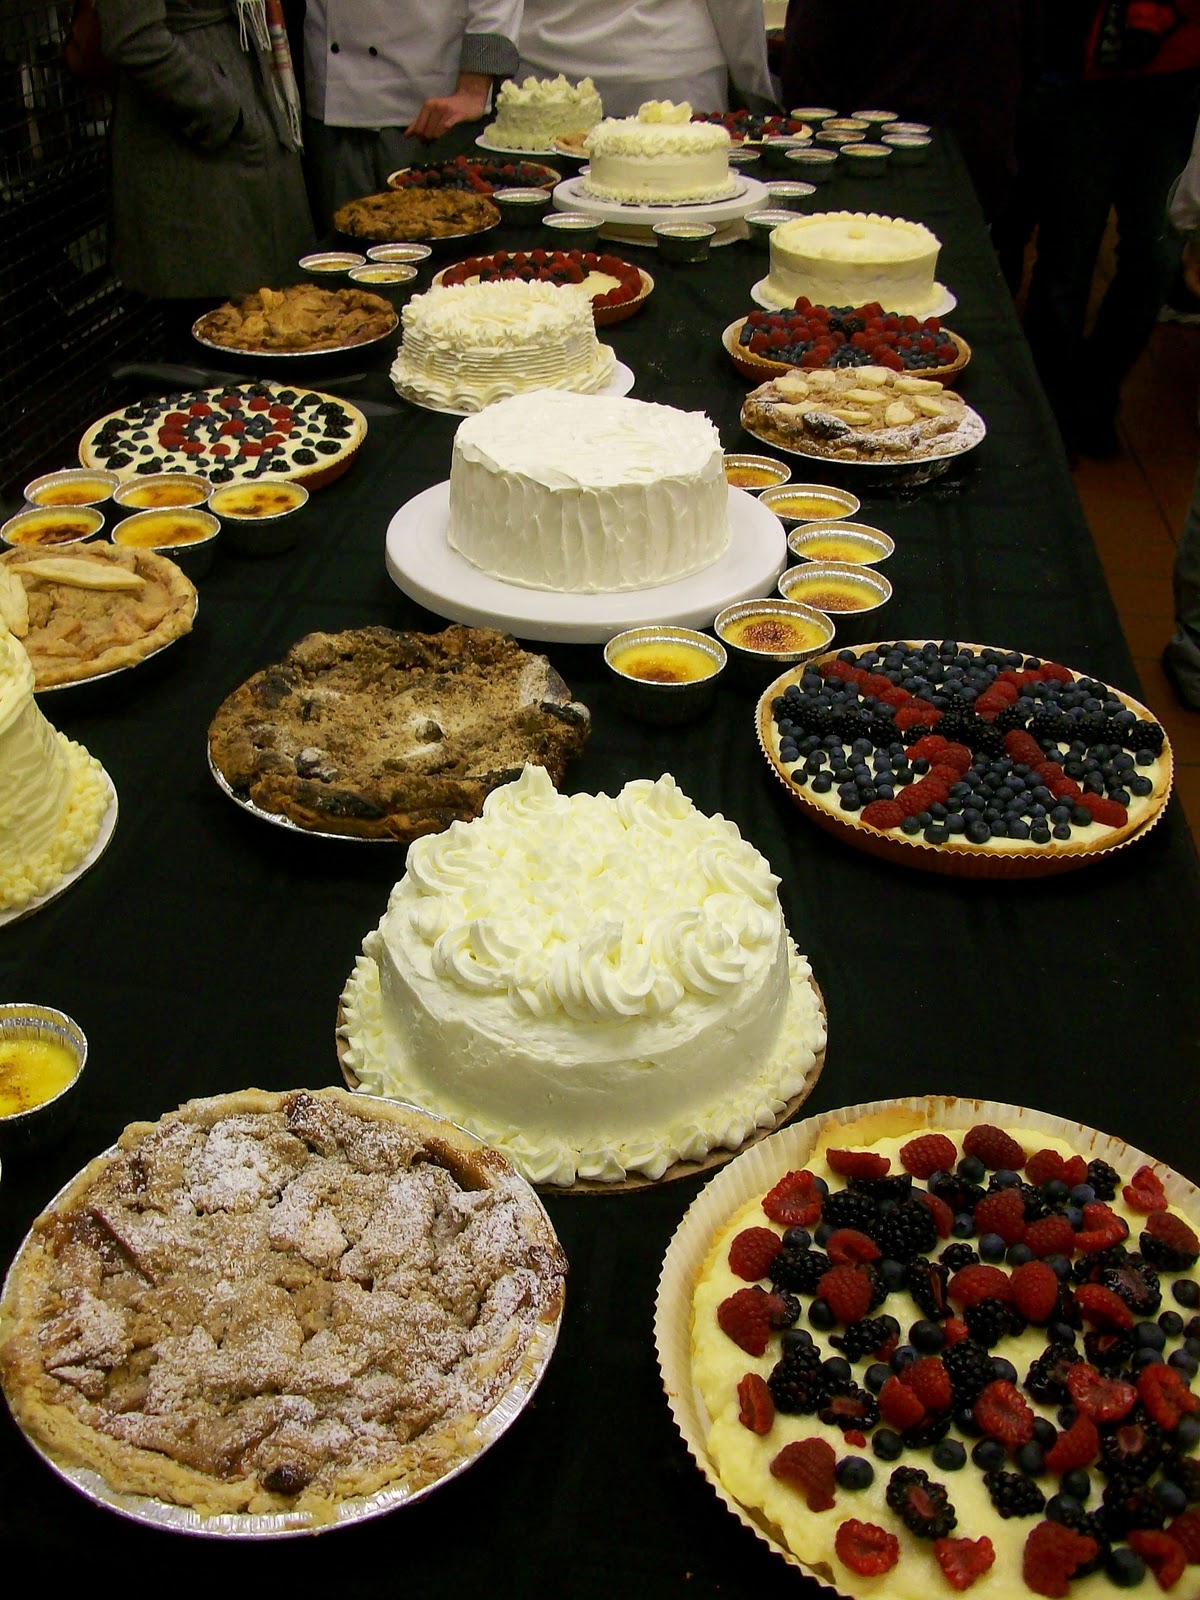
| Chocolate-Dipped Hazelnut Caramel Squares |
The Chicken Parmigiana got me thinking about appropriate side dishes and led to an entire “Italian Christmas” theme for the dinner table (not including desserts). I relied heavily on Marcella Hazan’s Essentials of Classic Italian Cooking for recipes and inspiration, a cookbook I highly recommend.
For the record, our 2010 Christmas repast consisted of the following:
For the record, our 2010 Christmas repast consisted of the following:
- Chicken Parmigiana with Tomato Sauce and Italian-style Turkey Meatballs
- Whole Wheat Linguine
- Focaccia – Italian flat bread topped with rosemary, sage, kosher salt, and olive oil
- Sweet and Sour Onions – small cipolline onions slow-cooked with butter, salt, vinegar, and a bit of sugar
- La Grande Insalata Mista – a big Italian salad with Bibb lettuce, watercress, fresh spinach, artichokes, fennel, carrots, red bell pepper, and green onions
- Panettone – Italian holiday bread studded with dark and golden raisins, toasted pine nuts, and orange and lemon zests
 |
| Coconut Biscuits. Slightly nutmeggy and very crisp. |
In addition we made two different cookies—Chocolate-Dipped Hazelnut Caramel Squares and Coconut Biscuits—which aren’t Italian but complemented the other dishes nicely.
 |
| Italian Sweet and Sour Onions |
Because my son insists on a devastatingly rich chocolate something for Christmas, I also made Bittersweet Chocolate Truffles. This was the first time I had ever made truffles and they were extremely good, so good that every time I ate one I was amazed at how good it was. If you love chocolate and have even rudimentary skills in the kitchen, you should make your own chocolate truffles. Friends and family you share them with will love you deeply for it, and you will love yourself.
 |
| Bittersweet Chocolate Truffles, some dipped in cocoa and some not. |
I used a recipe originated by Katrina Markoff, founder of Vosges Haut Chocolat, that appeared in an issue of Bon Appétit a few years ago. There are two ingredients: bittersweet chocolate and heavy cream. With so few ingredients, use the best chocolate you can afford. I used a one-pound block of Callebaut chocolate that cost $20.00. With a yield of 25-30 truffles, we’re talking $.75-.90 per truffle, depending on how big you roll them. That’s not inexpensive, but believe me, you will not regret it.
Bittersweet Chocolate Truffles
Adapted from a recipe by Katrina Markoff
Makes 25-30
Truffle Base
1 1/4 cups heavy cream
9 ounces bittersweet chocolate (70% cocoa), chopped
Truffle Coating
7 ounces bittersweet chocolate (70% cocoa), chopped
Unsweetened cocoa powder (optional)
For Truffle Base
Bittersweet Chocolate Truffles
Adapted from a recipe by Katrina Markoff
Makes 25-30
Truffle Base
1 1/4 cups heavy cream
9 ounces bittersweet chocolate (70% cocoa), chopped
Truffle Coating
7 ounces bittersweet chocolate (70% cocoa), chopped
Unsweetened cocoa powder (optional)
For Truffle Base
Bring cream to simmer in heavy small saucepan. Remove from heat and let cool to lukewarm, about 10 minutes.
Stir 7 ounces chocolate in metal bowl over pan of simmering water until smooth (don’t let bottom of bowl touch the water). Remove from heat and add remaining 2 ounces chocolate. Stir until completely melted and smooth. Stir in cream. Chill truffle base until firm, 2-3 hours.
Line baking sheet with waxed paper. Using your hands, roll about 2 teaspoons truffle base into a ball. Transfer to prepared sheet. Repeat with remaining truffle base. Chill until firm, about 1 hour.
For Truffle Coating
Line a second baking sheet with waxed paper and set aside. Stir chocolate in metal bowl over pan of simmering water until melted and smooth. Remove from heat and let cool slightly.
Dip balls of truffle base into bowl of melted chocolate to coat; you may use your hands to do this. Place on prepared sheet. Roll in cocoa powder if desired.
Store truffles in airtight container and keep chilled. Let stand at room temperature one hour before serving. Will keep for about one week.
Dip balls of truffle base into bowl of melted chocolate to coat; you may use your hands to do this. Place on prepared sheet. Roll in cocoa powder if desired.
Store truffles in airtight container and keep chilled. Let stand at room temperature one hour before serving. Will keep for about one week.